It seems that I have stumbled upon the end of my headboard saga! I've tried large frames, room dividers, pillows, and I'm sure a few other things I've forgotten about. While they all looked ok (I did like the
wrapping paper a lot at first) I didn't love anything. Love a headboard? Eh, you get what I mean. So I began searching google again and I came up with some pretty headboards.
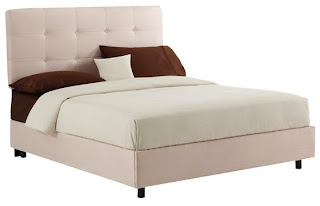 |
| Tufted |
 |
| Upholstery Tacks |
|
|
|
|
|
|
|
|
|
|
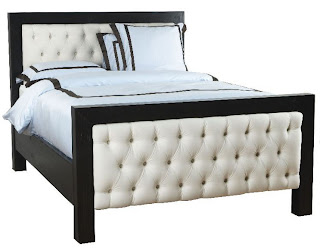 |
| Tufted, tacked and framed |
Someone on YHL's facebook (what a valuable source of inspiration, input and knowledge!) suggested wall decals. Unfortunately, spending $40+ for swirly decals was not an option. Another option was decals of actual headboards, I found some beautiful options by
Mina Javid, but again price (and size) factored into things. $40 for a headboard is a steal, but the sizes went from twin to queen. No full. Next! I kept on searching and while searching I did find some inspiration for something I could do myself.
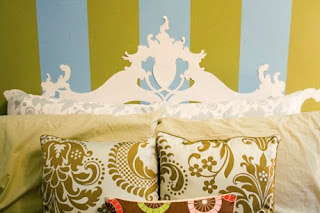 |
| Gorgeous! |
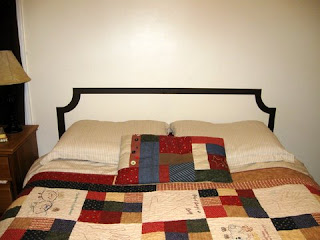 |
| This could work! |
Although I absolutely adore the first painted/decal headboard, my hands aren't steady enough to paint that intricate design and I don't think it works for my room. The second, simpler, design was just begging me to try it. So I did...more on that later!
Have you ever gone an alternate route to the traditional headboard? What has worked, or not worked, for you?


